[FTC Standard Disclosure] We receive no compensation for this post. Any links that may earn us a commission are tagged [Affililate Link]
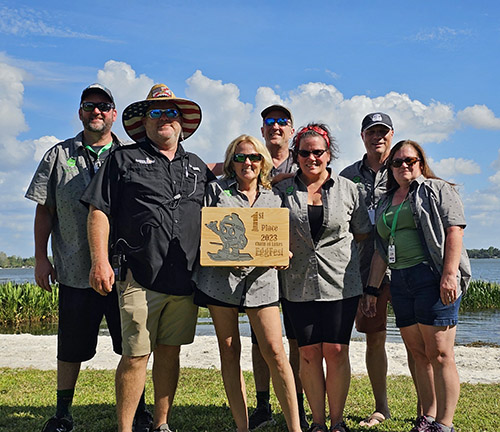
Once again, I'm super proud of the Nibble Me This grilling team. Last weekend, we cooked in the 2023 Chain of Lakes Eggfest and the hungry crowds voted us as the 2023 Champions.
 |
I couldn't ask to cook with a better group of friends and family.
|
But even better, this grilled food festival is an annual fund-raiser hosted by Mannix Pools and Grills for Girls Inc. and the local Boys and Girls Club. The top 3 placing teams - TromboKing, Pork's Peak, and Nibble Me This - not only donated our cash prizes back to the charities but the 3 teams also MATCHED that with an additional donation, totaling $5,000 extra for the two clubs.
Here is a look back at the event.
Planning
Before we light the first fire, Rhonda (team captain and my sister) and I plan it all out.
- What to serve - We look at things that are crowd favorites, can be prepped ahead of time, and have short cook times so we can keep the food coming out.
- How much to serve - We create a demand forecast by taking the number of ticket presales and typically double that to account for walk-up sales.
- What to take - We coordinate our equipment & supplies lists so that team members bring everything we need but not 2 and 3 of everything since space is a premium.
Pre-Prep
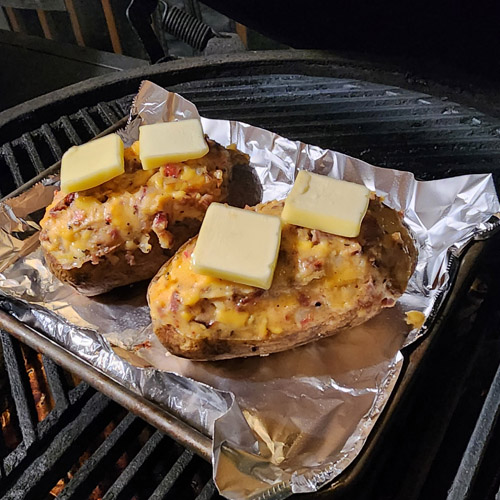
Since we only have 2 hours before gates open on the event day, we have to smoke our green chile-seasoned pork butts during the week. Rhonda did two of these for Jordan's Drunk Pickles and I did one for the Smoked Pork Taquitos.